Compiling an Ionic React App for Android
King Somto
18 Jun 2021
•
4 min read
Intro
If you have experience creating React web apps, you can use the same knowledge and skills to create mobile apps utilizing the Ionic framework. In this article, we are going to look at how to set up the Android development environment to compile a React Ionic app into Android.
It is not meant to teach you how to create a React Ionic App, if you are looking for that then I recommend checking out my other tutorial on how to create a React Ionic app.
Setting up
Setting up the Android development environment would require a few more software installations.
- Android Studio
- Capacitor
Android studio
Android Studio is the IDE(Integrated Development Environment) for creating Native Android Apps. It contains android SDKs AND gives you access to a list of android virtual devices which are run as emulators and these emulators can be used to launch android apps.
Downloading Android studio
Android Studio can be downloaded from the android development website, it's very simple to get it downloaded and set up.
Installing Android studio
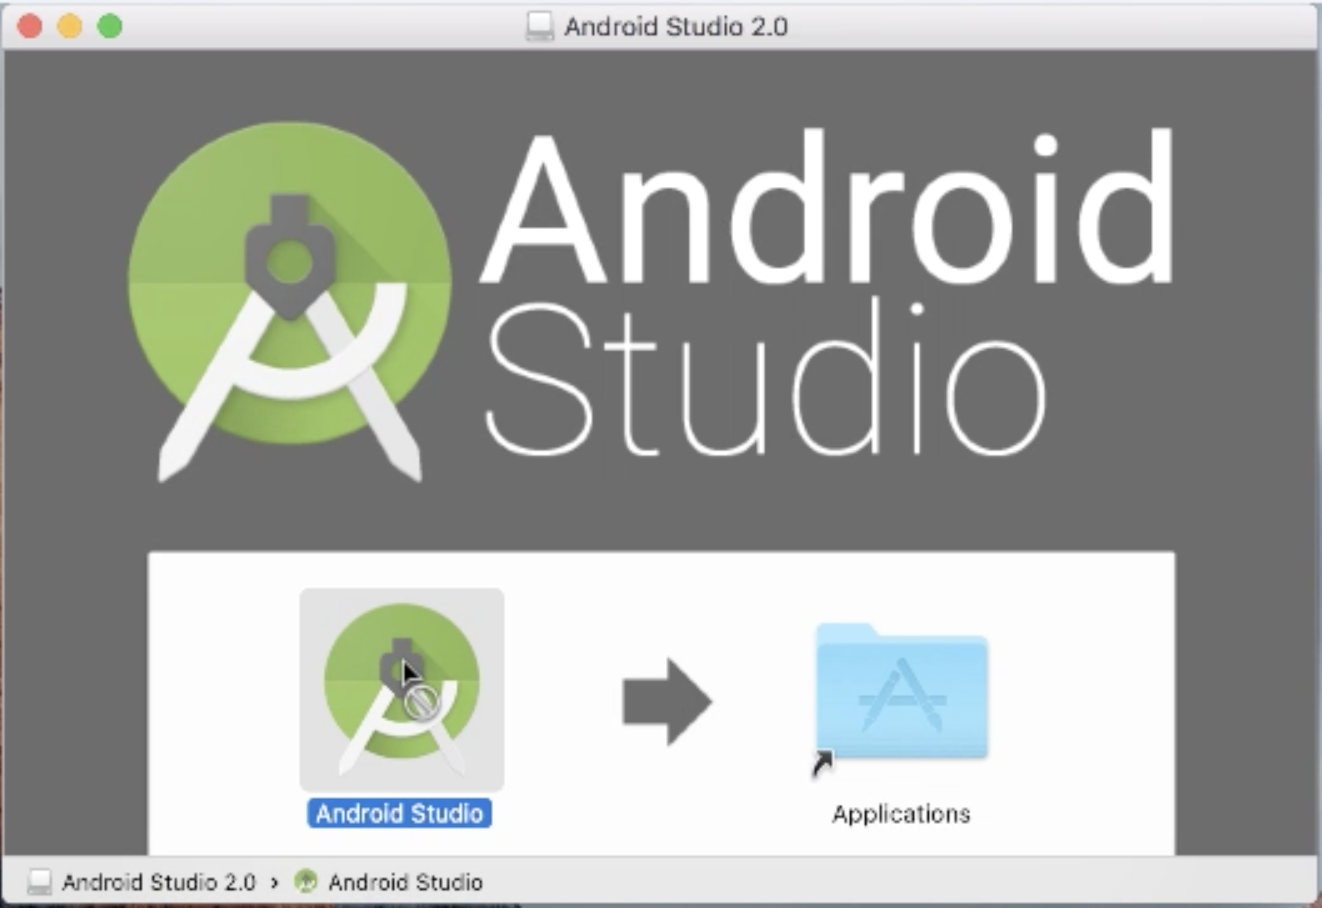
Once downloaded clicking on the installation file opens the installer.
Installing the android development software installs the needed files into your machine.
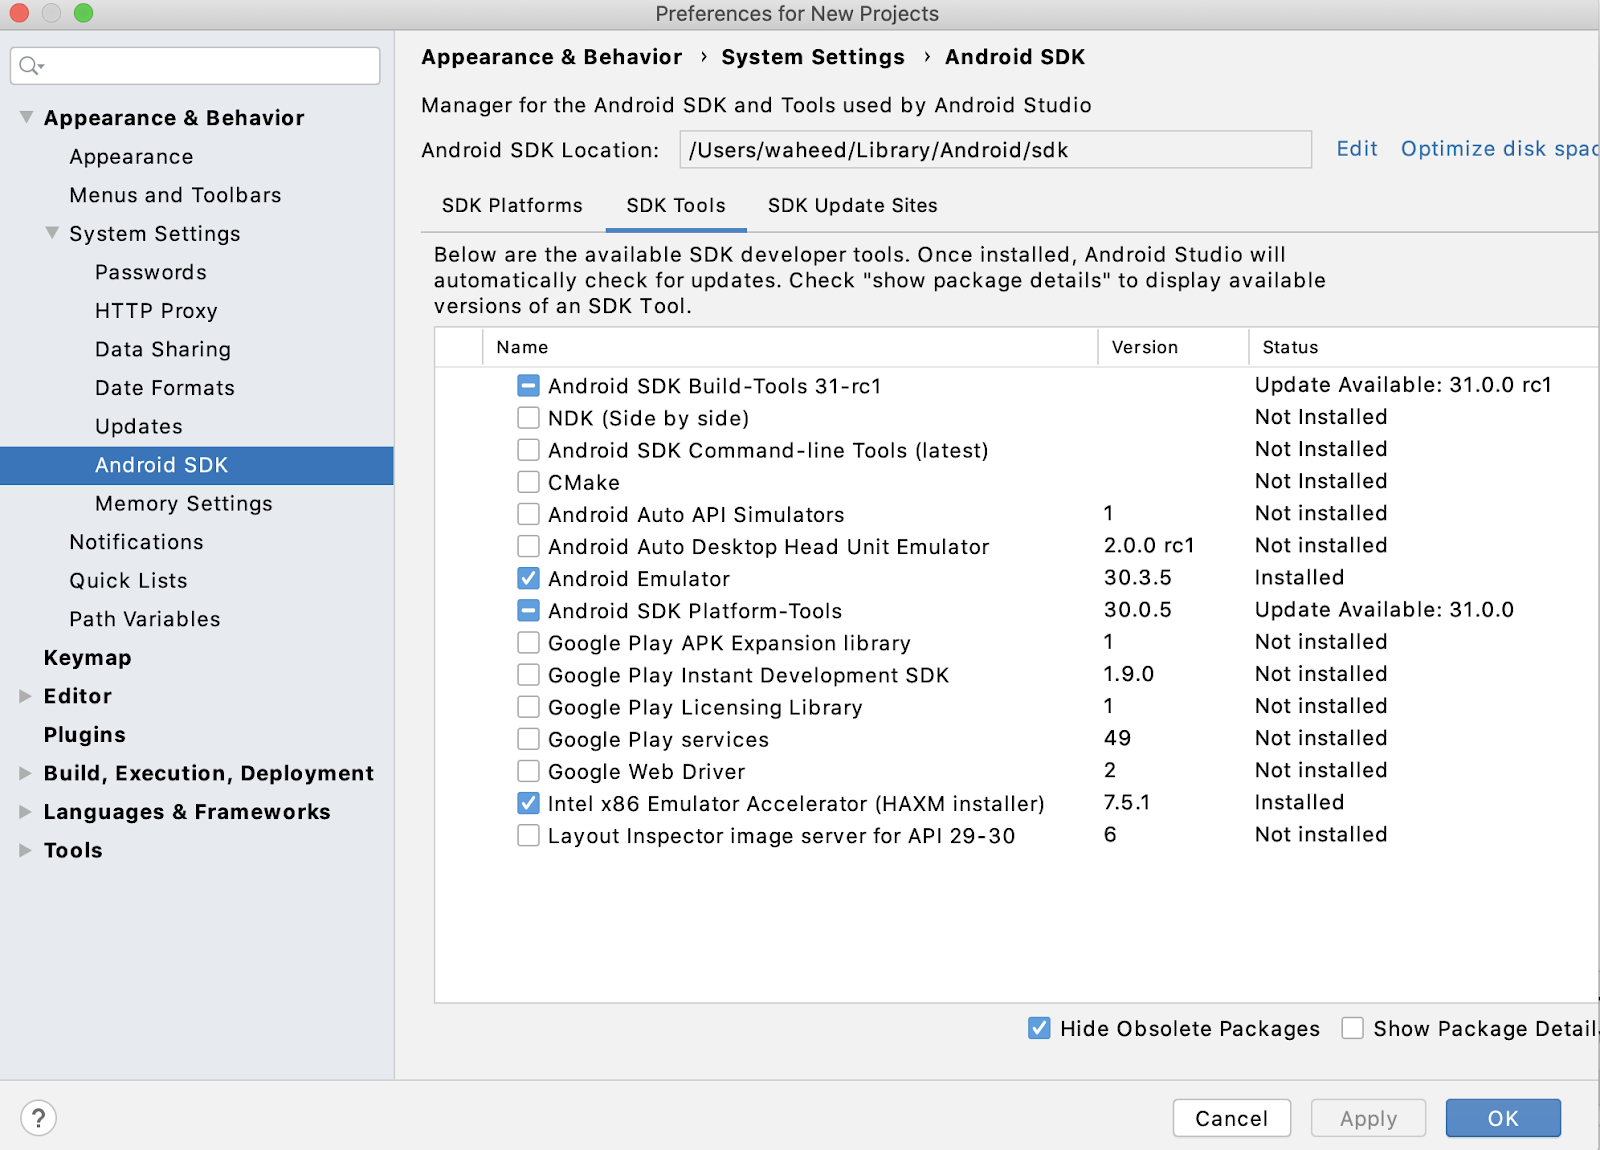
Setting up the SDK (Software development Kit)
The Android SDK (software development kit) is a set of development tools used in the development of android applications for the android platform, the Android SDK includes source code and libraries to access features native to the android platform.
Configuring the command line
The Android SDK comes pre-installed with useful tools for development. But we need to set up some environmental variables before we start development, these commands can be used for both macOS and Linux.
~ $ export ANDROID_SDK_ROOT=$HOME/Library/Android/sdk
The command above sets the environment variable ANDROID_SDK_ROOT.
Creating a Virtual Android Device
Android Virtual Devices (AVDs) are virtual devices that enable engineers to simulate the Android operating system and run android mobile apps, setting this up is pretty easy.
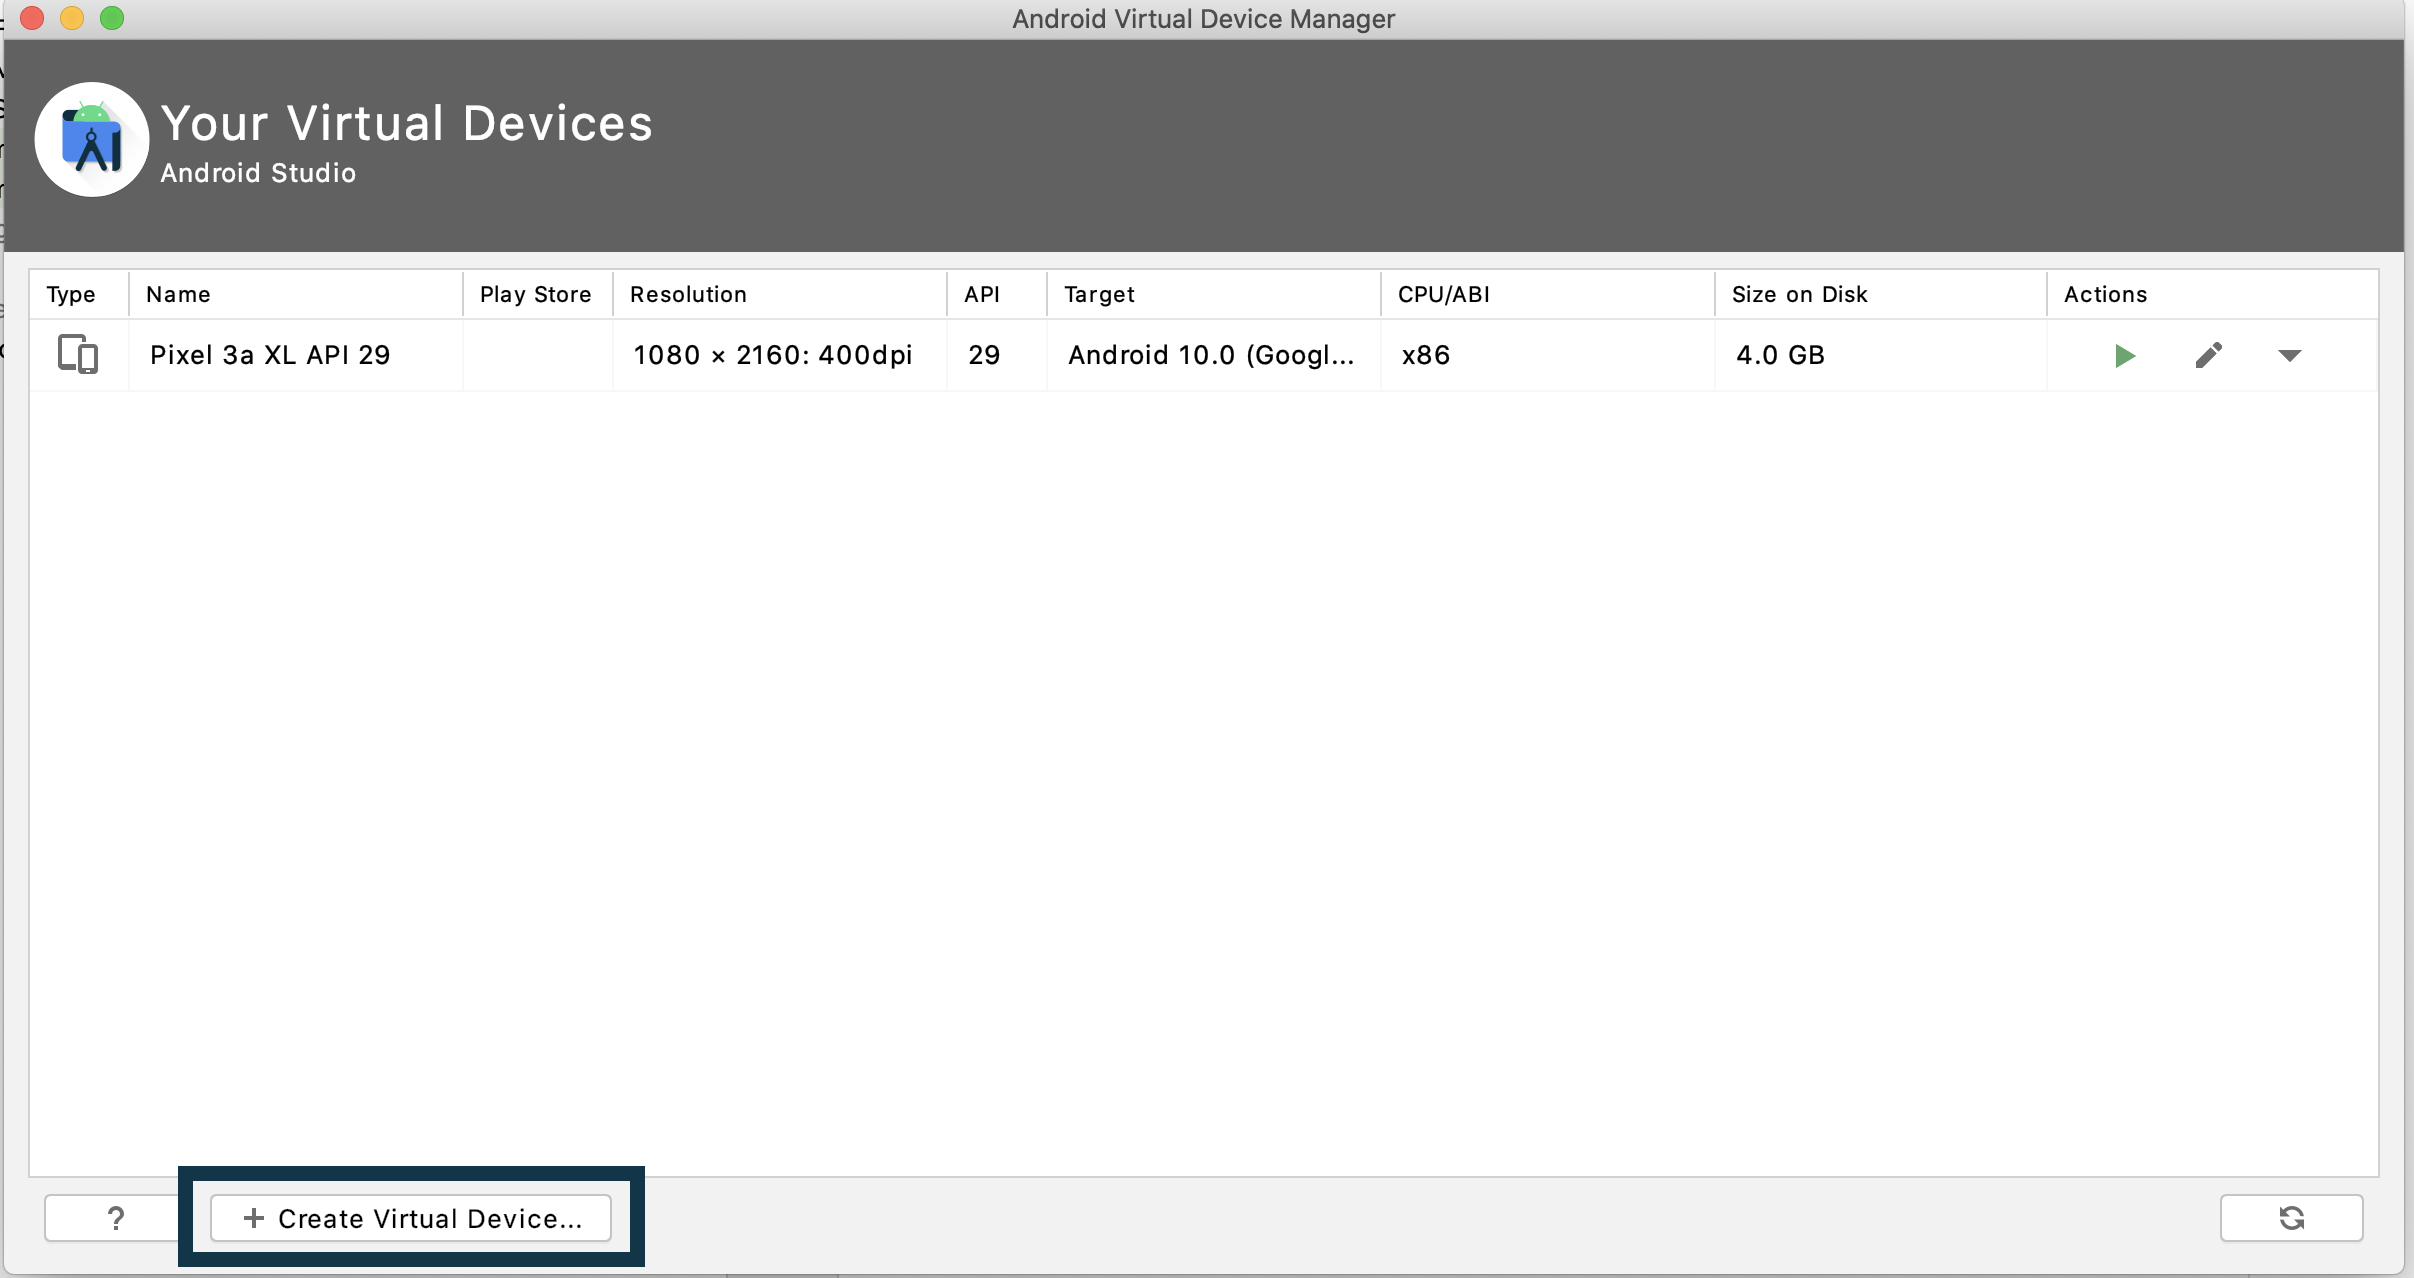
Avds are managed by the AVD manager, this can be set up either in the Android Studio welcome screen or the AVD Manager by clicking the AVD button.
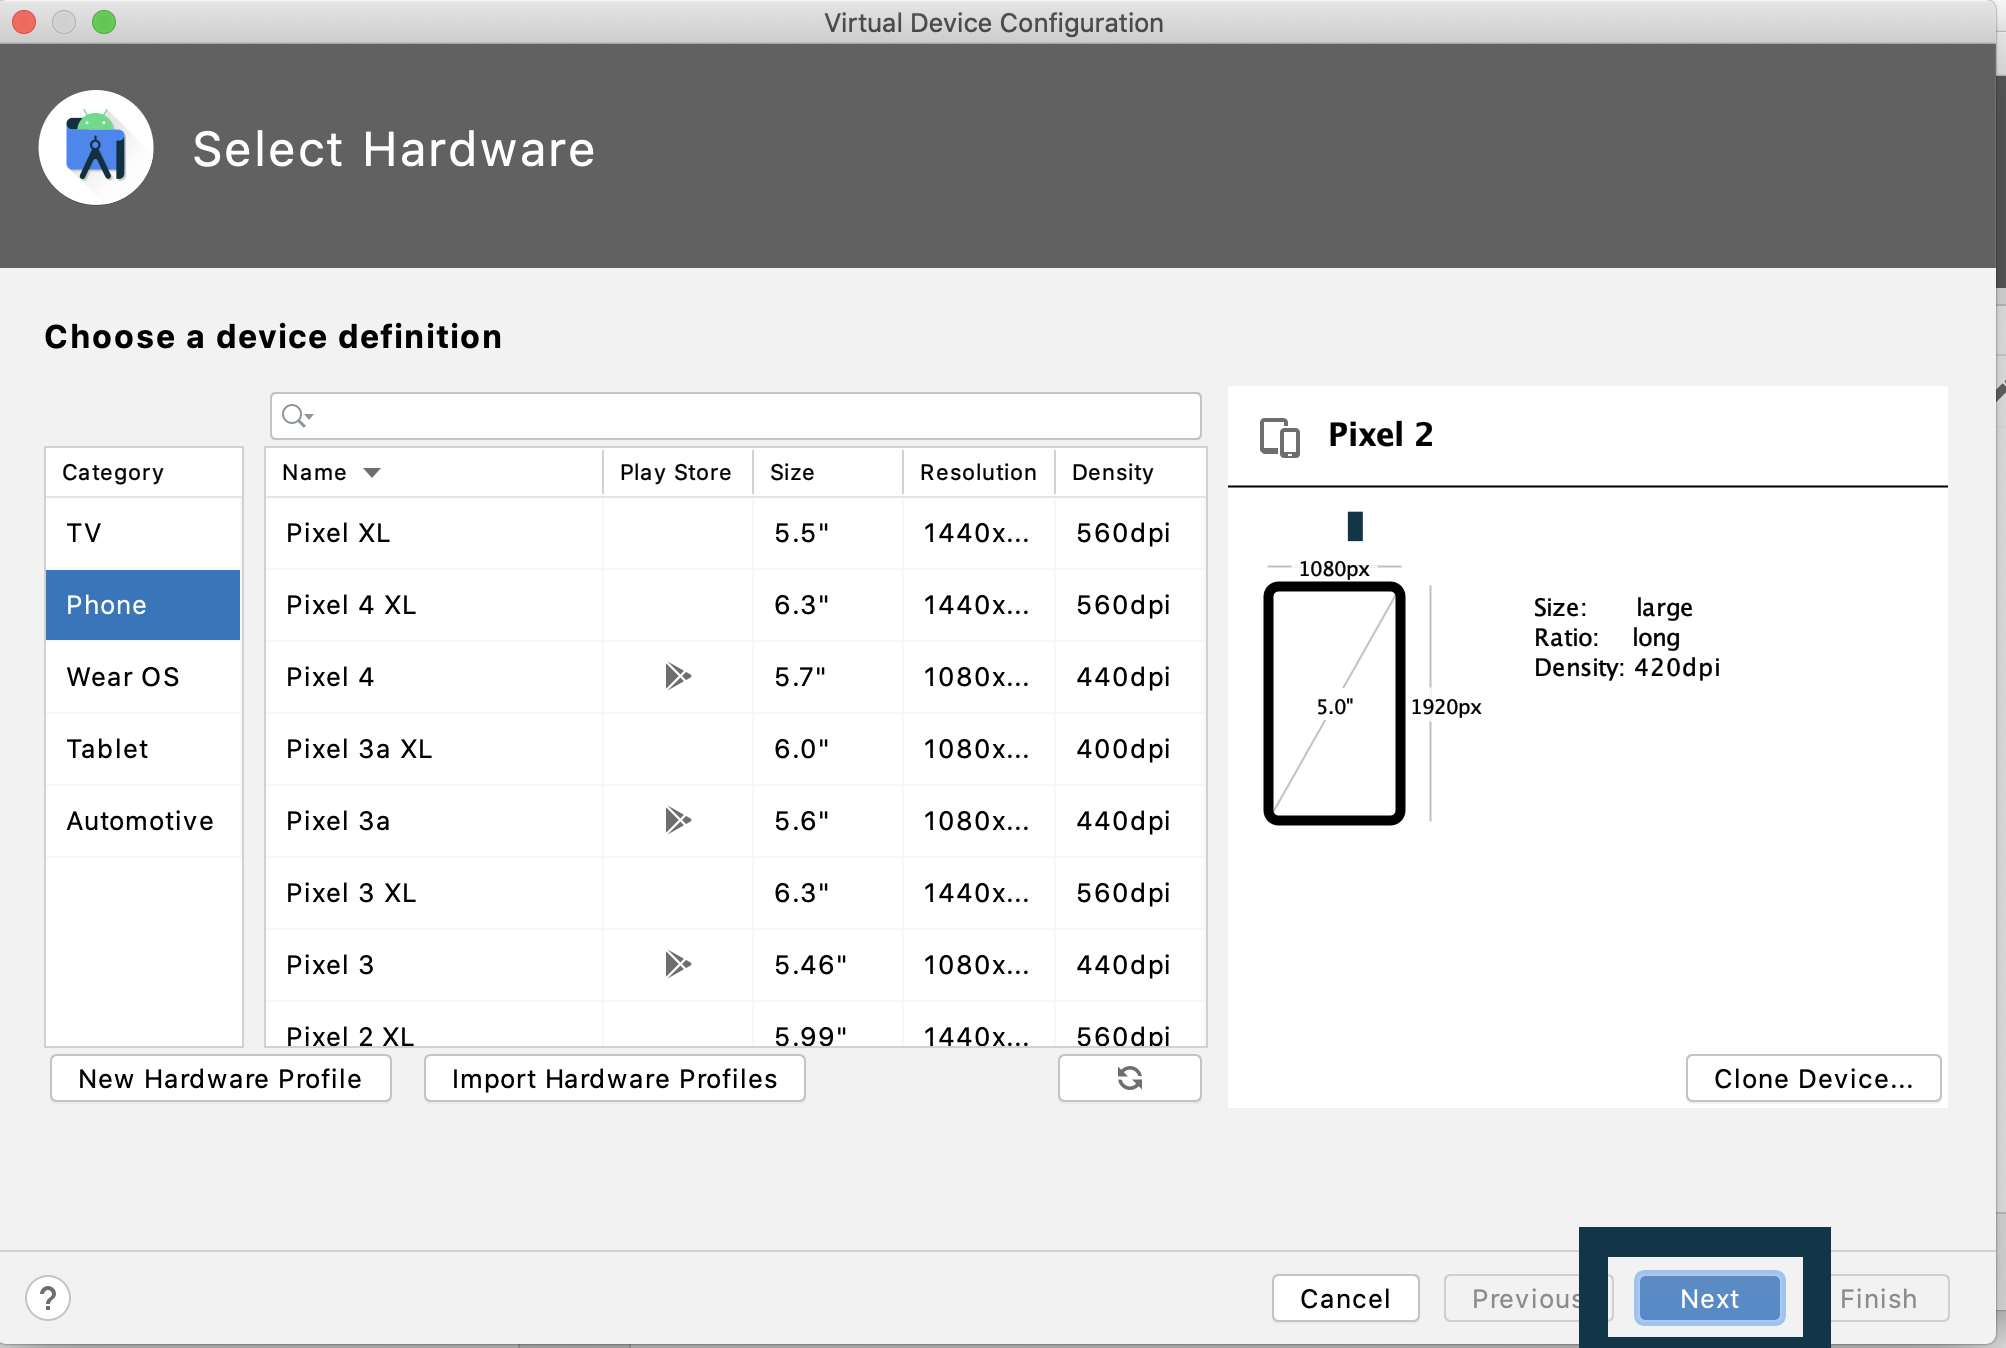
The first step would be to click on the Create Your Device opens another popup that lets you select the phone model.
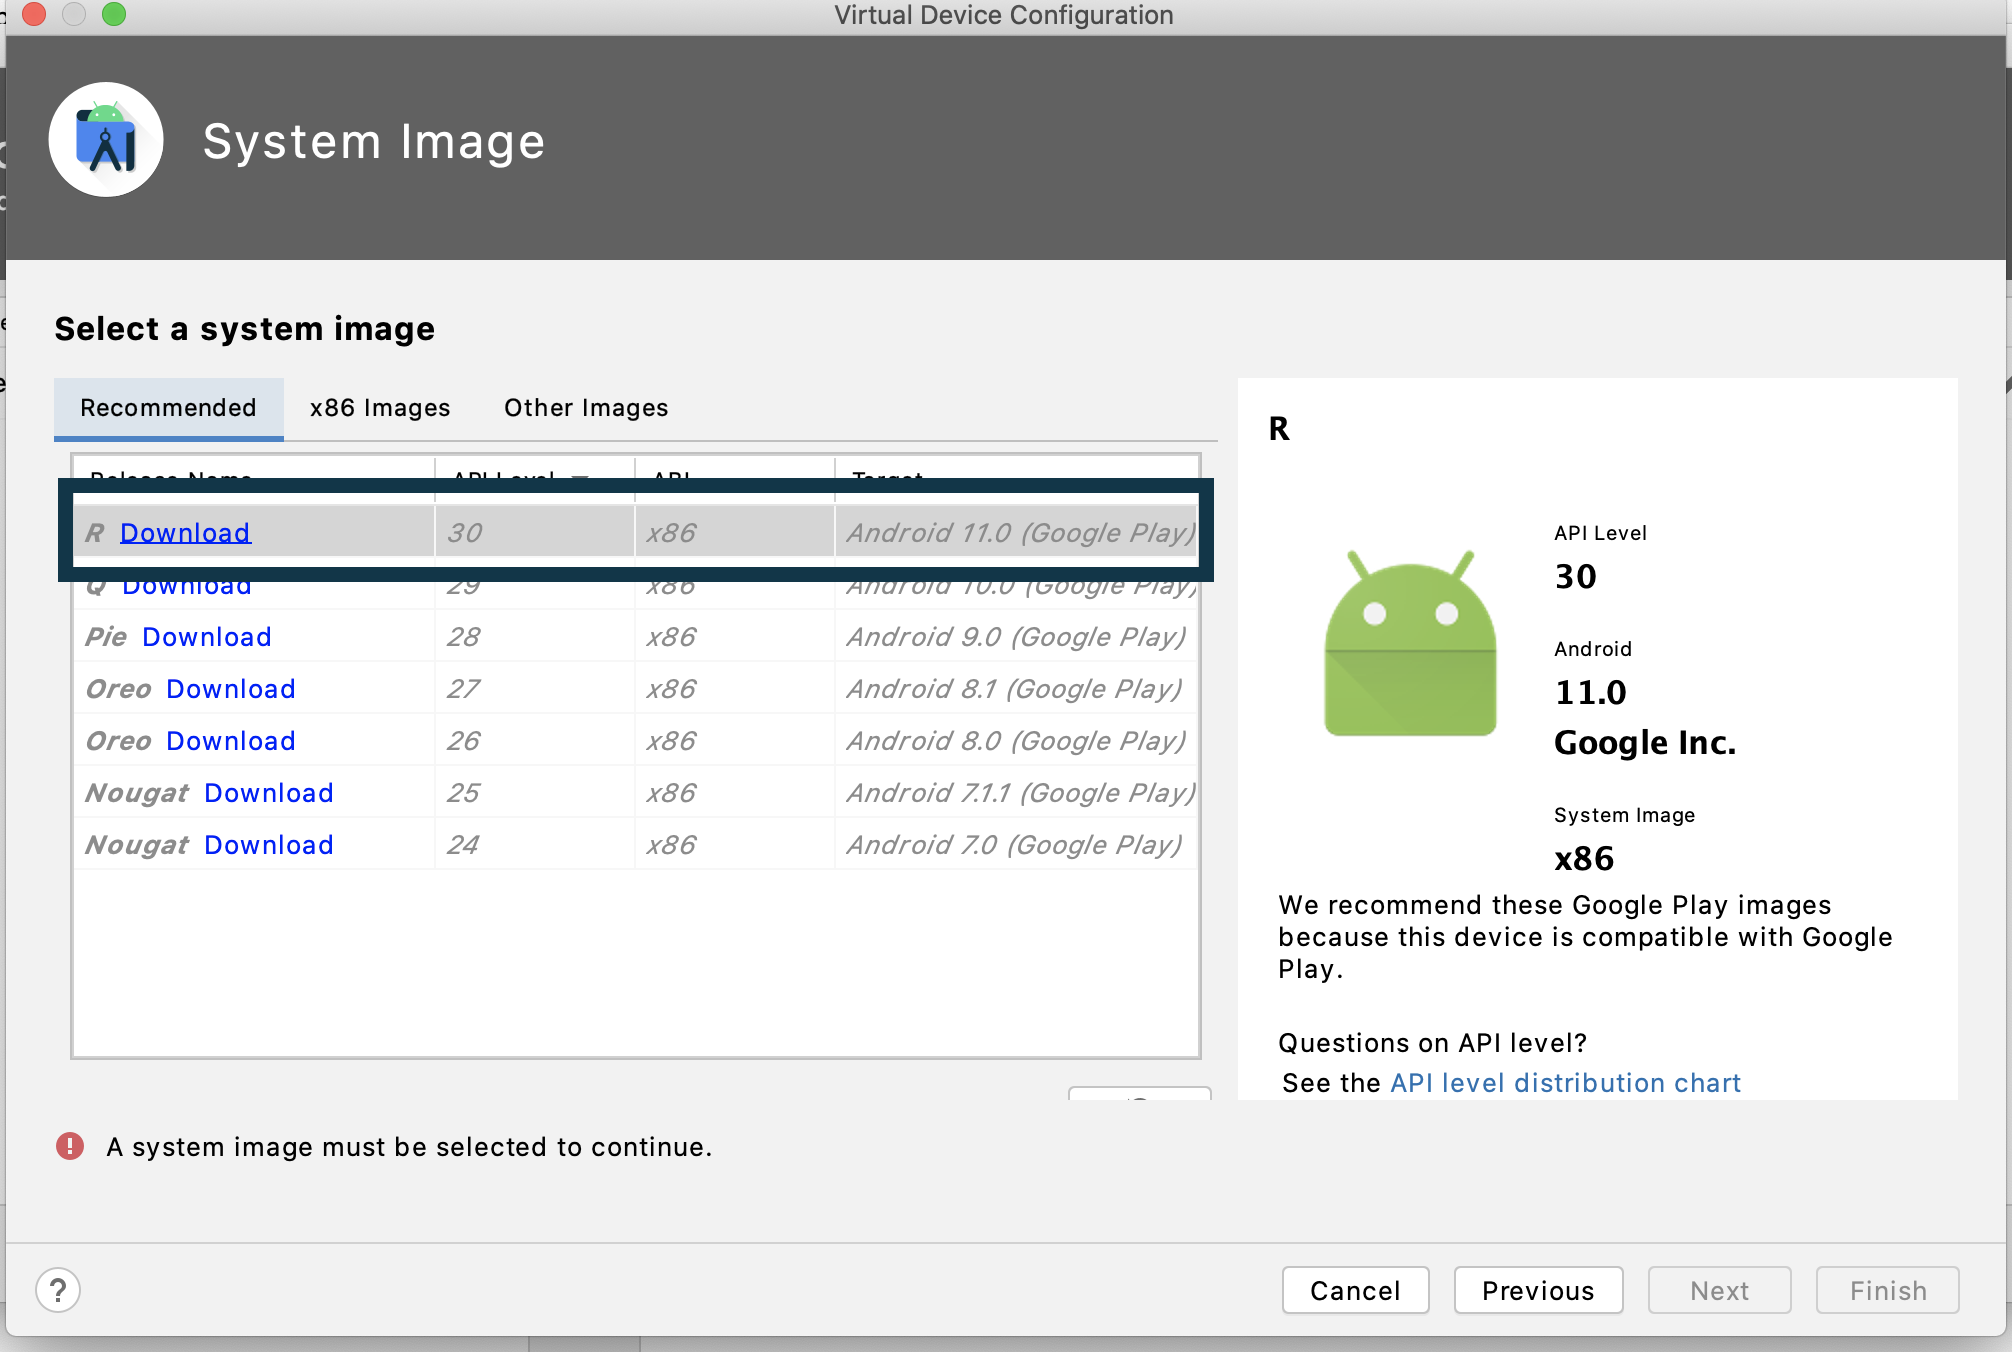
The next step would be to select the phone model to clone (I advise selecting the phone with the biggest display), clicking on the next button should take you to a popup to select the operating system for the device.
The next step involves selecting the operating system to be used (I advise downloading the latest operating system).
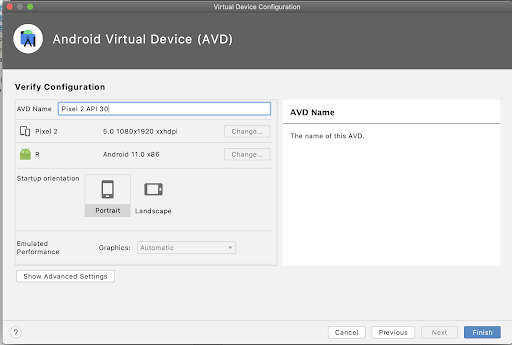
That should have everything set up, clicking finish should set everything up.
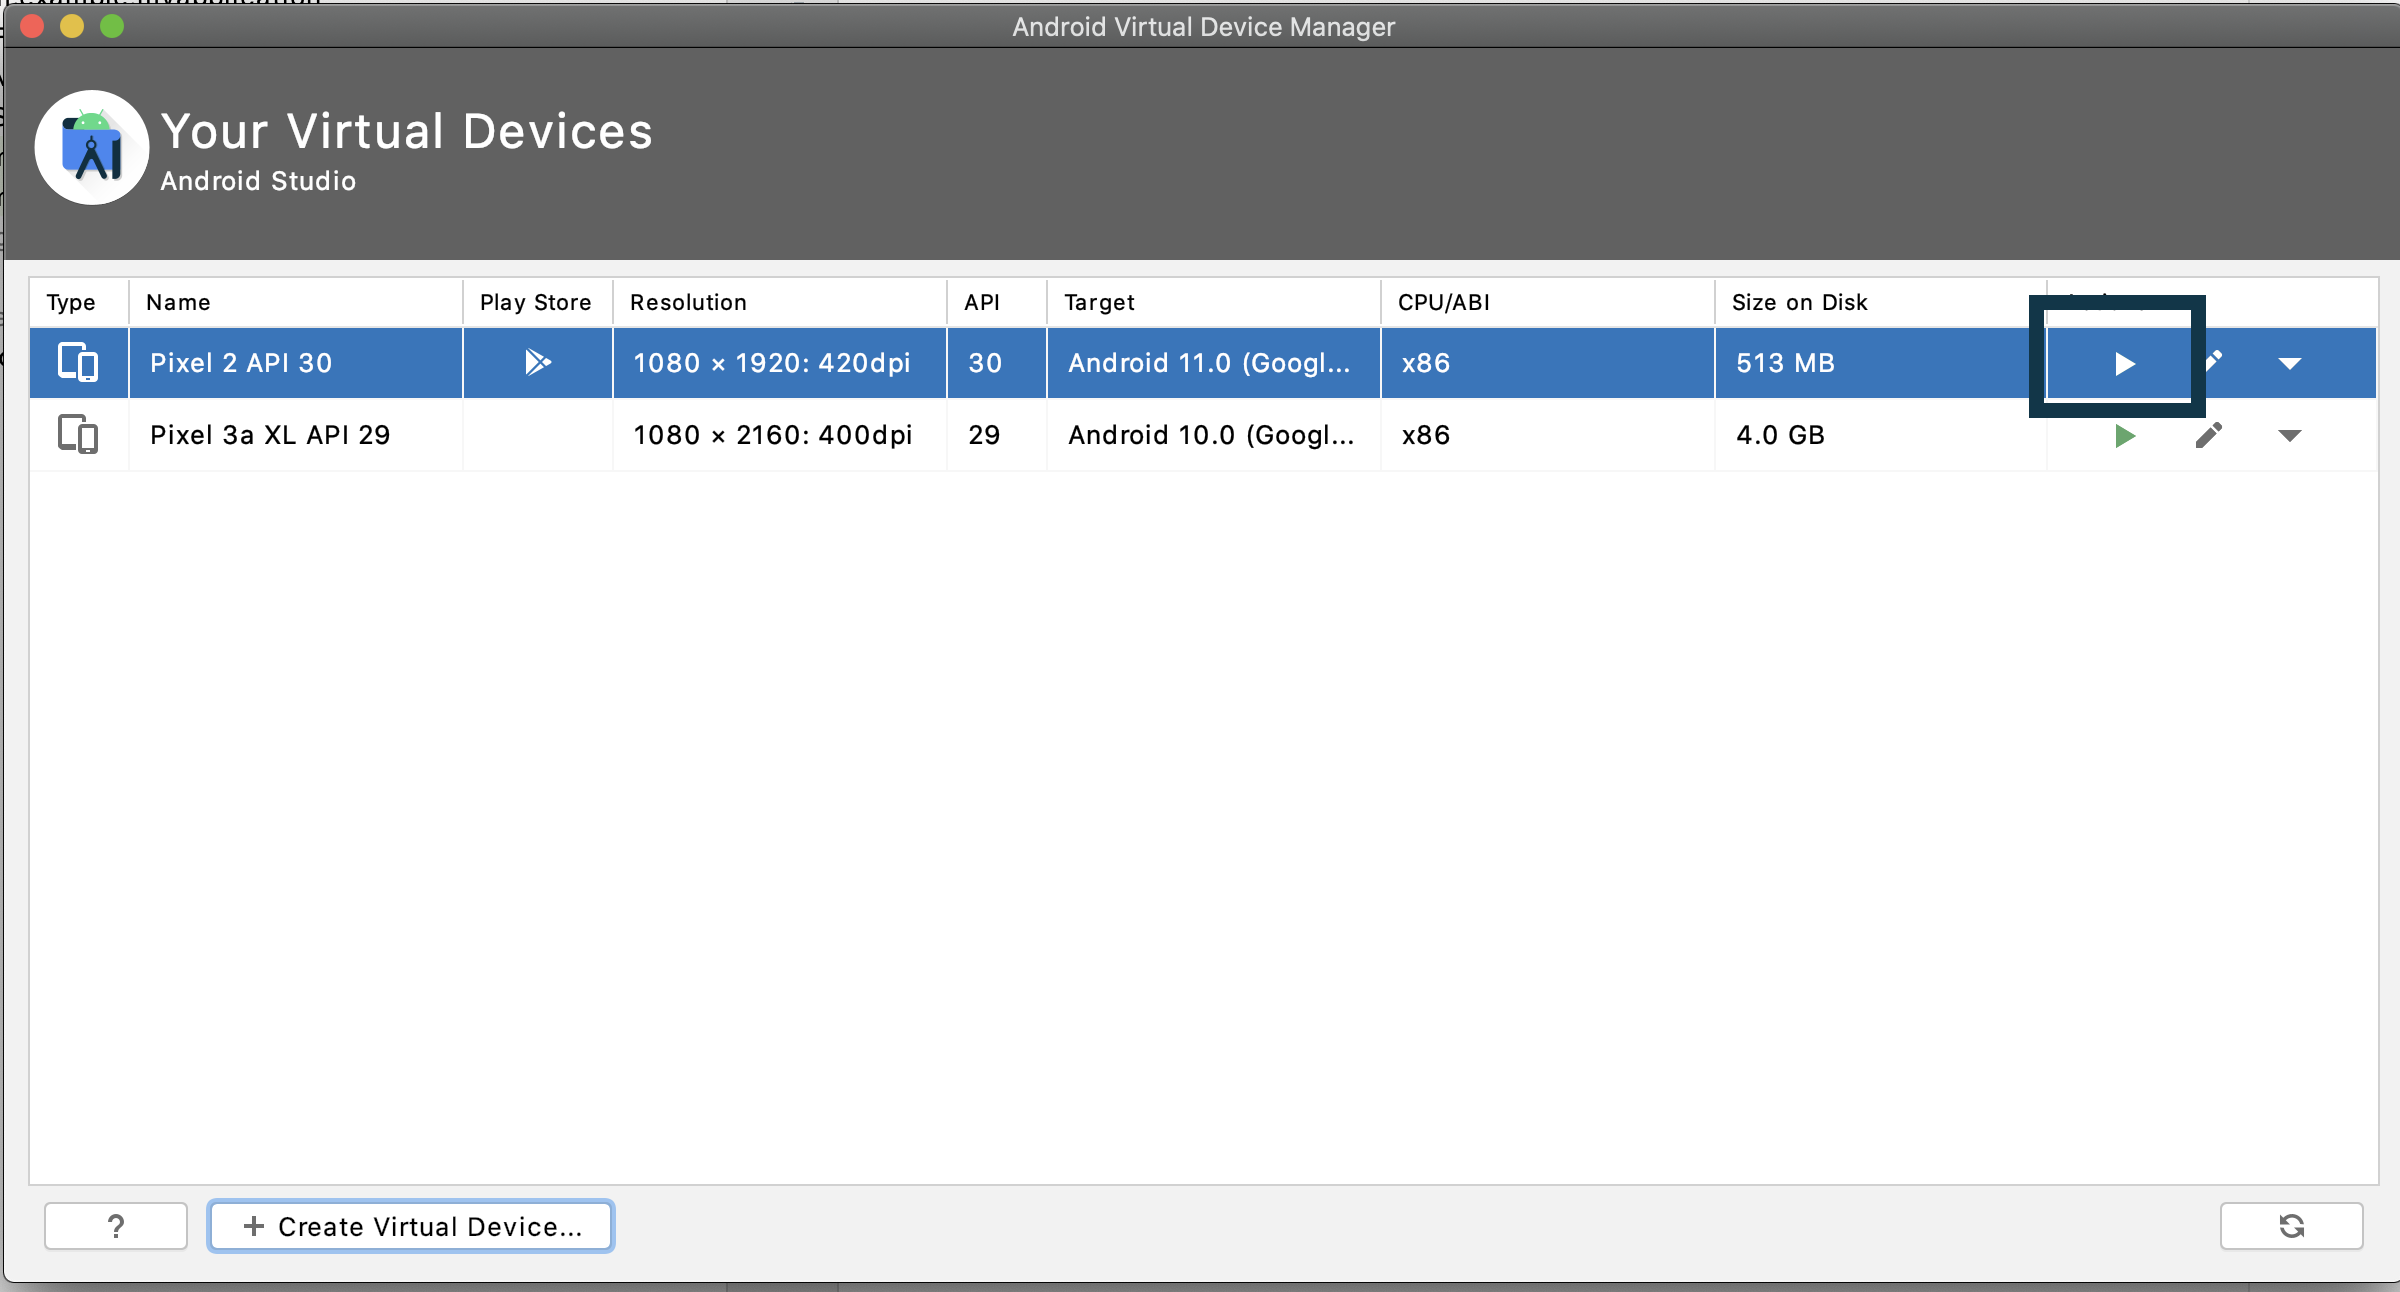
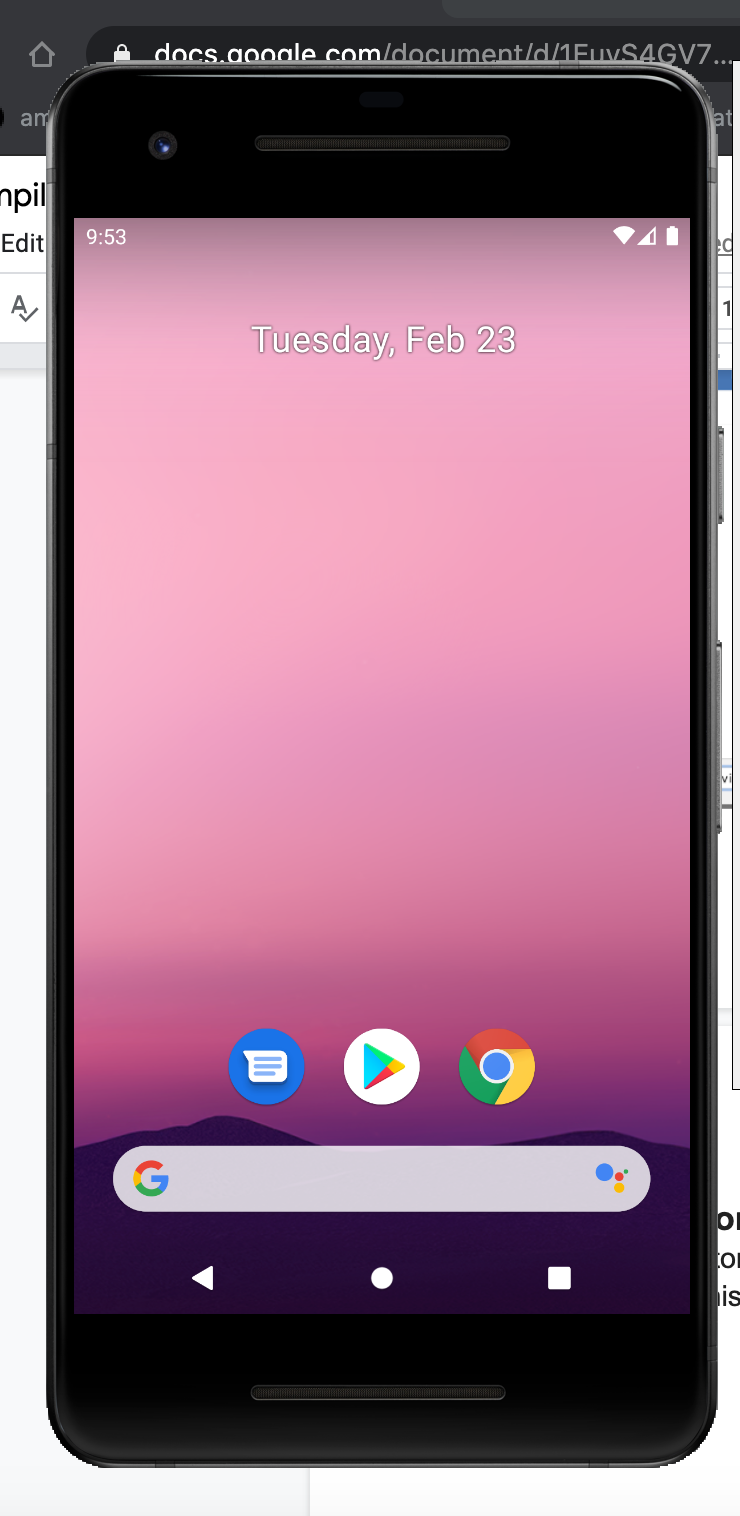
Done, you can now open the emulator by clicking the play button.
Setting up an Ionic Project
The goal of this tutorial is not to learn how to set up an Ionic app, if you need that I advise you use this tutorial, the article should get you up to date with creating an Ionic app but incase you don't want to go through all that you can just clone this repo.
Steps needed
git clone https://github.com/virgincodes/Javascriptworks-ionic-intro
cd ionicT && npm install
ionic serve
Our final solution would be
Compiling the app
Compiling the app involves wrapping our Web app into a mobile app, platforms like Cordova and Capacitor are amazing solutions for this, they provide a Command Line Interface to be able to run commands to compile apps and add native plugins.
Capacitor
The capacitor is an open-source native runtime for building Web Native apps. Create cross-platform iOS, Android, and Progressive Web Apps with JavaScript, HTML, and CSS. Capacitor comes preloaded with native code that lets Ionic access native app features like camera and gyroscope.
Steps
Installing the app involves setting up the Capacitor and using it to compile the android app.
Step 1
yarn add @capacitor/cli @capacitor/core
This command installs capacitor into the local file directory
Step 2
yarn run build
This command builds the React app into a bundle that is lighter and can be run on the android app.
Step 3
npx cap init
This command initializes capacitor in the app project, at this stage we set some params like app name.
Step 4
npx cap add android
This command adds android to the app
Step 5
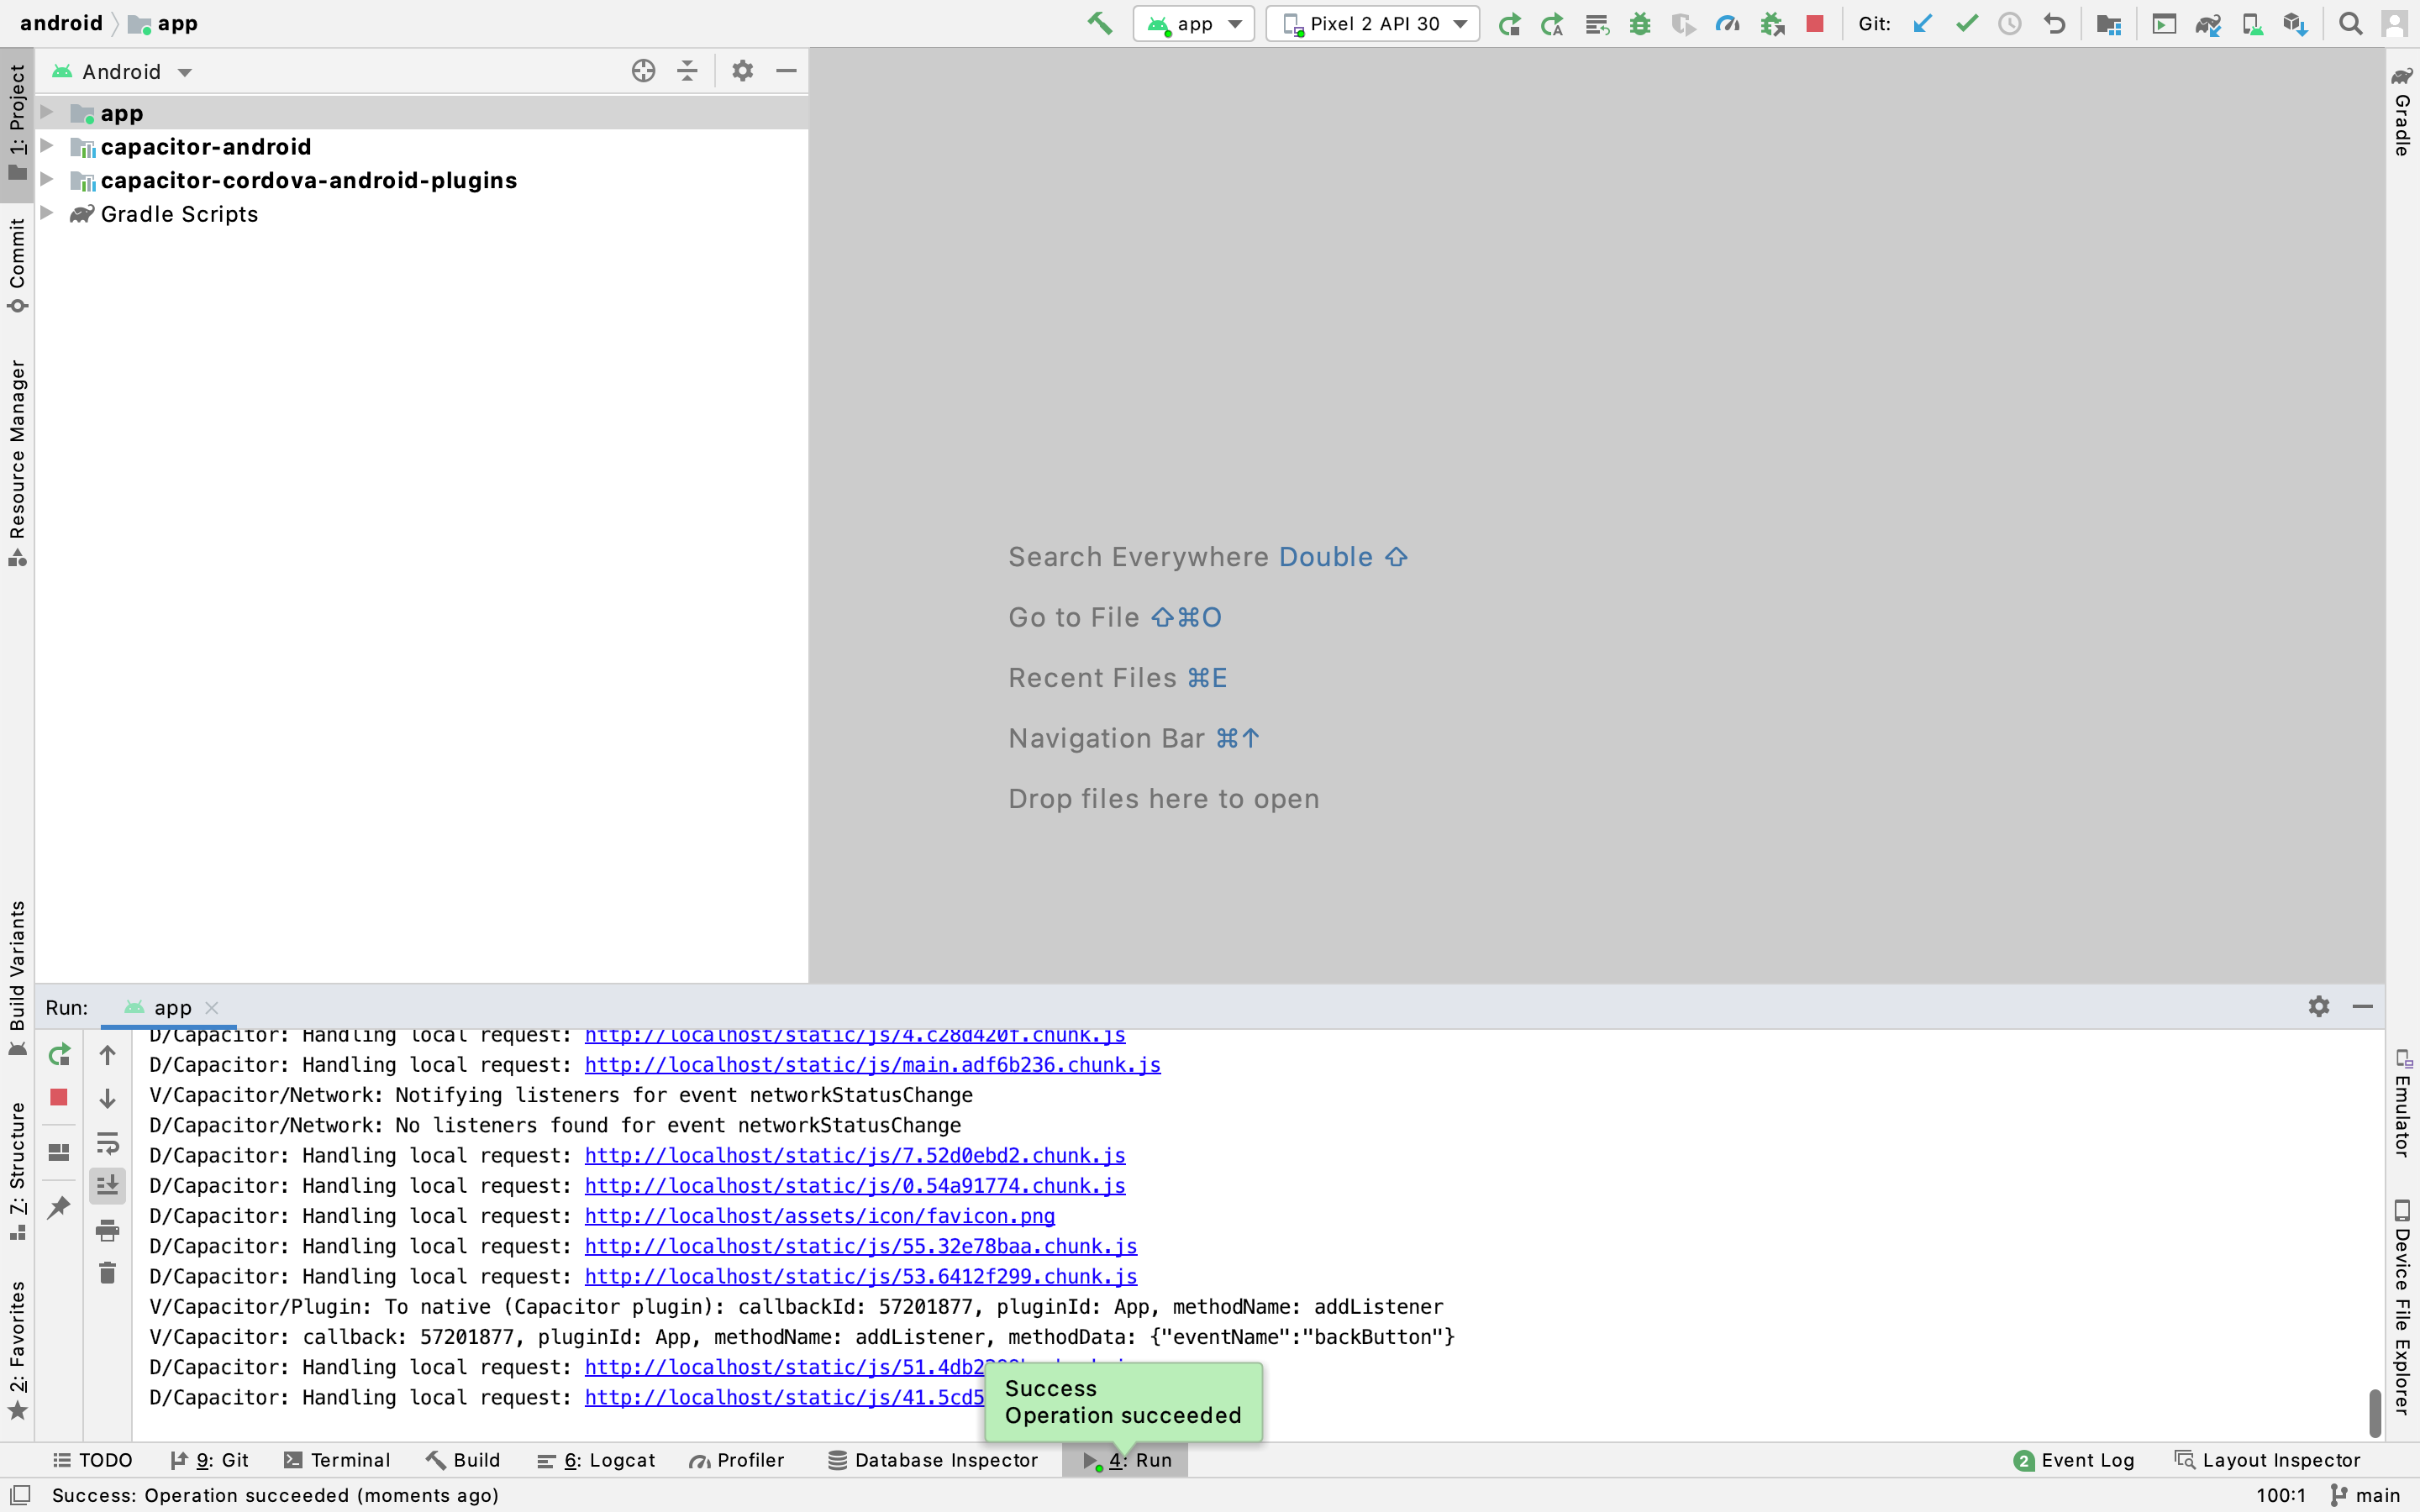
npx cap open android
This command opens android studio with the app root file.
Step 6
Click on the run button and the app would compile and activate the Android emulator
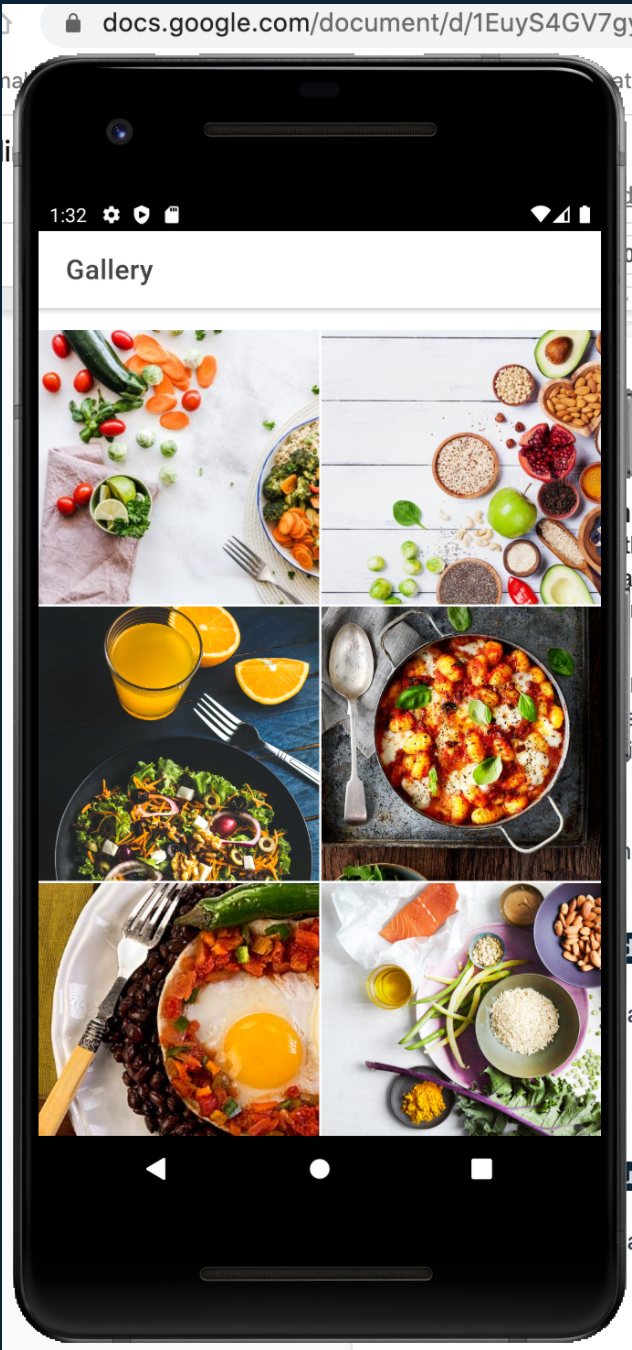
Switching to the emulator after a few minutes we have this.
The app is finally ready and we can see the exact similarity between the app running on the browser and the emulator.
Conclusion
In this tutorial, we have been able to see how it is possible to set up the android development platform on our system and be able to compile the application using capacitor which is our library for wrapping our web app into the android application and also preview that application on the android emulator.
WorksHub
Jobs
Locations
Articles
Ground Floor, Verse Building, 18 Brunswick Place, London, N1 6DZ
108 E 16th Street, New York, NY 10003
Subscribe to our newsletter
Join over 111,000 others and get access to exclusive content, job opportunities and more!
