How to Programmatically Generate an NFT collection and Calculate Rarity With HashLips Art Engine
Michiel Mulders
16 Nov 2022
•
6 min read
Many NFT collections have been created, but few artists know you can use art engines to help you programmatically create new NFT collections and their metadata.
Today’s tutorial takes a look at the popular HashLips art engine and how it can help you to generate your first NFT collection. This tutorial doesn’t explain how to automatically upload your new collection to Ethereum or Solana because we want to give you the freedom of choosing a blockchain network to host your NFT collection.
In this tutorial, you’ll learn the following:
- How do you generate a new NFT collection using multiple layers and weights?
- How do you modify your art style, such as pixelating, blending, or adding opacity?
- How do you add additional metadata?
- How do you calculate rarity?
Let’s get started!
Step 1: Install the HashLips Art Engine
The HashLips art engine supports all operating systems. However, if you are running the newest Apple M1 chips, you first need to install the following packages using brew:
brew install pkg-config cairo pango
Now, you can install the HashLips art engine using npm install or yarn install. It may throw an error message for Apple M1 chip users. Therefore, try using npm install --build-from-source to solve the error messages.
Once the art engine has been installed, it’s time to take a look at the project structure. You should see the following structure.
|_ /constants
|_ /layers
 |_ /Background
 |_ /Bottom lid
 ...
|_ /modules
|_ /src
 |_ config.js
 |_ main.js
|_ /utils
|_ index.js
Once you execute the index.js file, you’ll find a /build folder that contains the outputted images and metadata. Further, take a look at the layers folder. This folder has multiple other folders, each representing a layer for the artwork you want to generate.
For instance, you’ll find a folder called Eyeball. This folder contains two files:
- Red#50.png
- White#50.png
Each file represents a possible image for the eyeball layer. Besides that, the number 50, which comes after the # delimiter, represents the rarity weight. In this case, both images have received equal weights. This is entirely up to the creator to decide. You can also create a new layer with ten images that all get different weights to mix things up.
Lastly, you’ll be primarily working in the /src/config.js file, where we can change the configuration of the art engine and tell it how to generate your NFT collection.
Step 2: Changing the configuration for the art engine
Next, let’s look at which options we have to change the output of our art engine. Open the /src/config.js file, which contains the configuration. At line 25, you’ll find a layerConfigurations definition. This variable determines the order of the layers and sets the number of NFTs to be generated for your NFT collection.
You start with the “Background” layer, then “Eyeball, and we end with “Top lid”. Note how each layer name corresponds to folder names in the layers folder.
const layerConfigurations = [
 {
   growEditionSizeTo: 5,
   layersOrder: [
     { name: "Background" },
     { name: "Eyeball" },
     { name: "Eye color" },
     { name: "Iris" },
     { name: "Shine" },
     { name: "Bottom lid" },
     { name: "Top lid" },
   ],
 },
];
Step 2.1: Ignore layers for rarity calculation
In the end, HashLips is an art engine, and not every layer should count towards the rarity of our image. You might want to add layers that only add esthetical value like a background image. For instance, the “Background” layer only has one option: “Black#1.png”. Let’s tell the art engine to ignore this layer by setting the bypassDNA: true option.
const layerConfigurations = [
 {
   growEditionSizeTo: 5,
   layersOrder: [
     { name: "Background",
       options: {
           bypassDNA: true
       }
     },
     { name: "Eyeball" },
     { name: "Eye color" },
     { name: "Iris" },
     { name: "Shine" },
     { name: "Bottom lid" },
     { name: "Top lid" },
   ],
 },
];
Step 2.2: Change the display name for layers
You can change the display name for an attribute because you don’t want to create very long folder names in your /layers folder. It will also look better in the generated metadata. You can change the display name by adding the displayName property.
const layerConfigurations = [
 {
   growEditionSizeTo: 5,
   layersOrder: [
     { name: "Background",
       options: {
           bypassDNA: true
       }
     },
     { name: "Eyeball",
       options: {
         displayName: "Beautiful Eyeball"
       }
     },
     …
   ],
 },
];
Now, look at the generated metadata in /build/json. You can pick any of the generated metadata files. You’ll see how the attribute name has changed to your preferred display name.
"attributes": [
{
"trait_type": "Background",
"value": "Black"
},
{
"trait_type": "Beautiful Eyeball",
"value": "White"
},
…
```## Step 2.3: Adding blending and opacity options
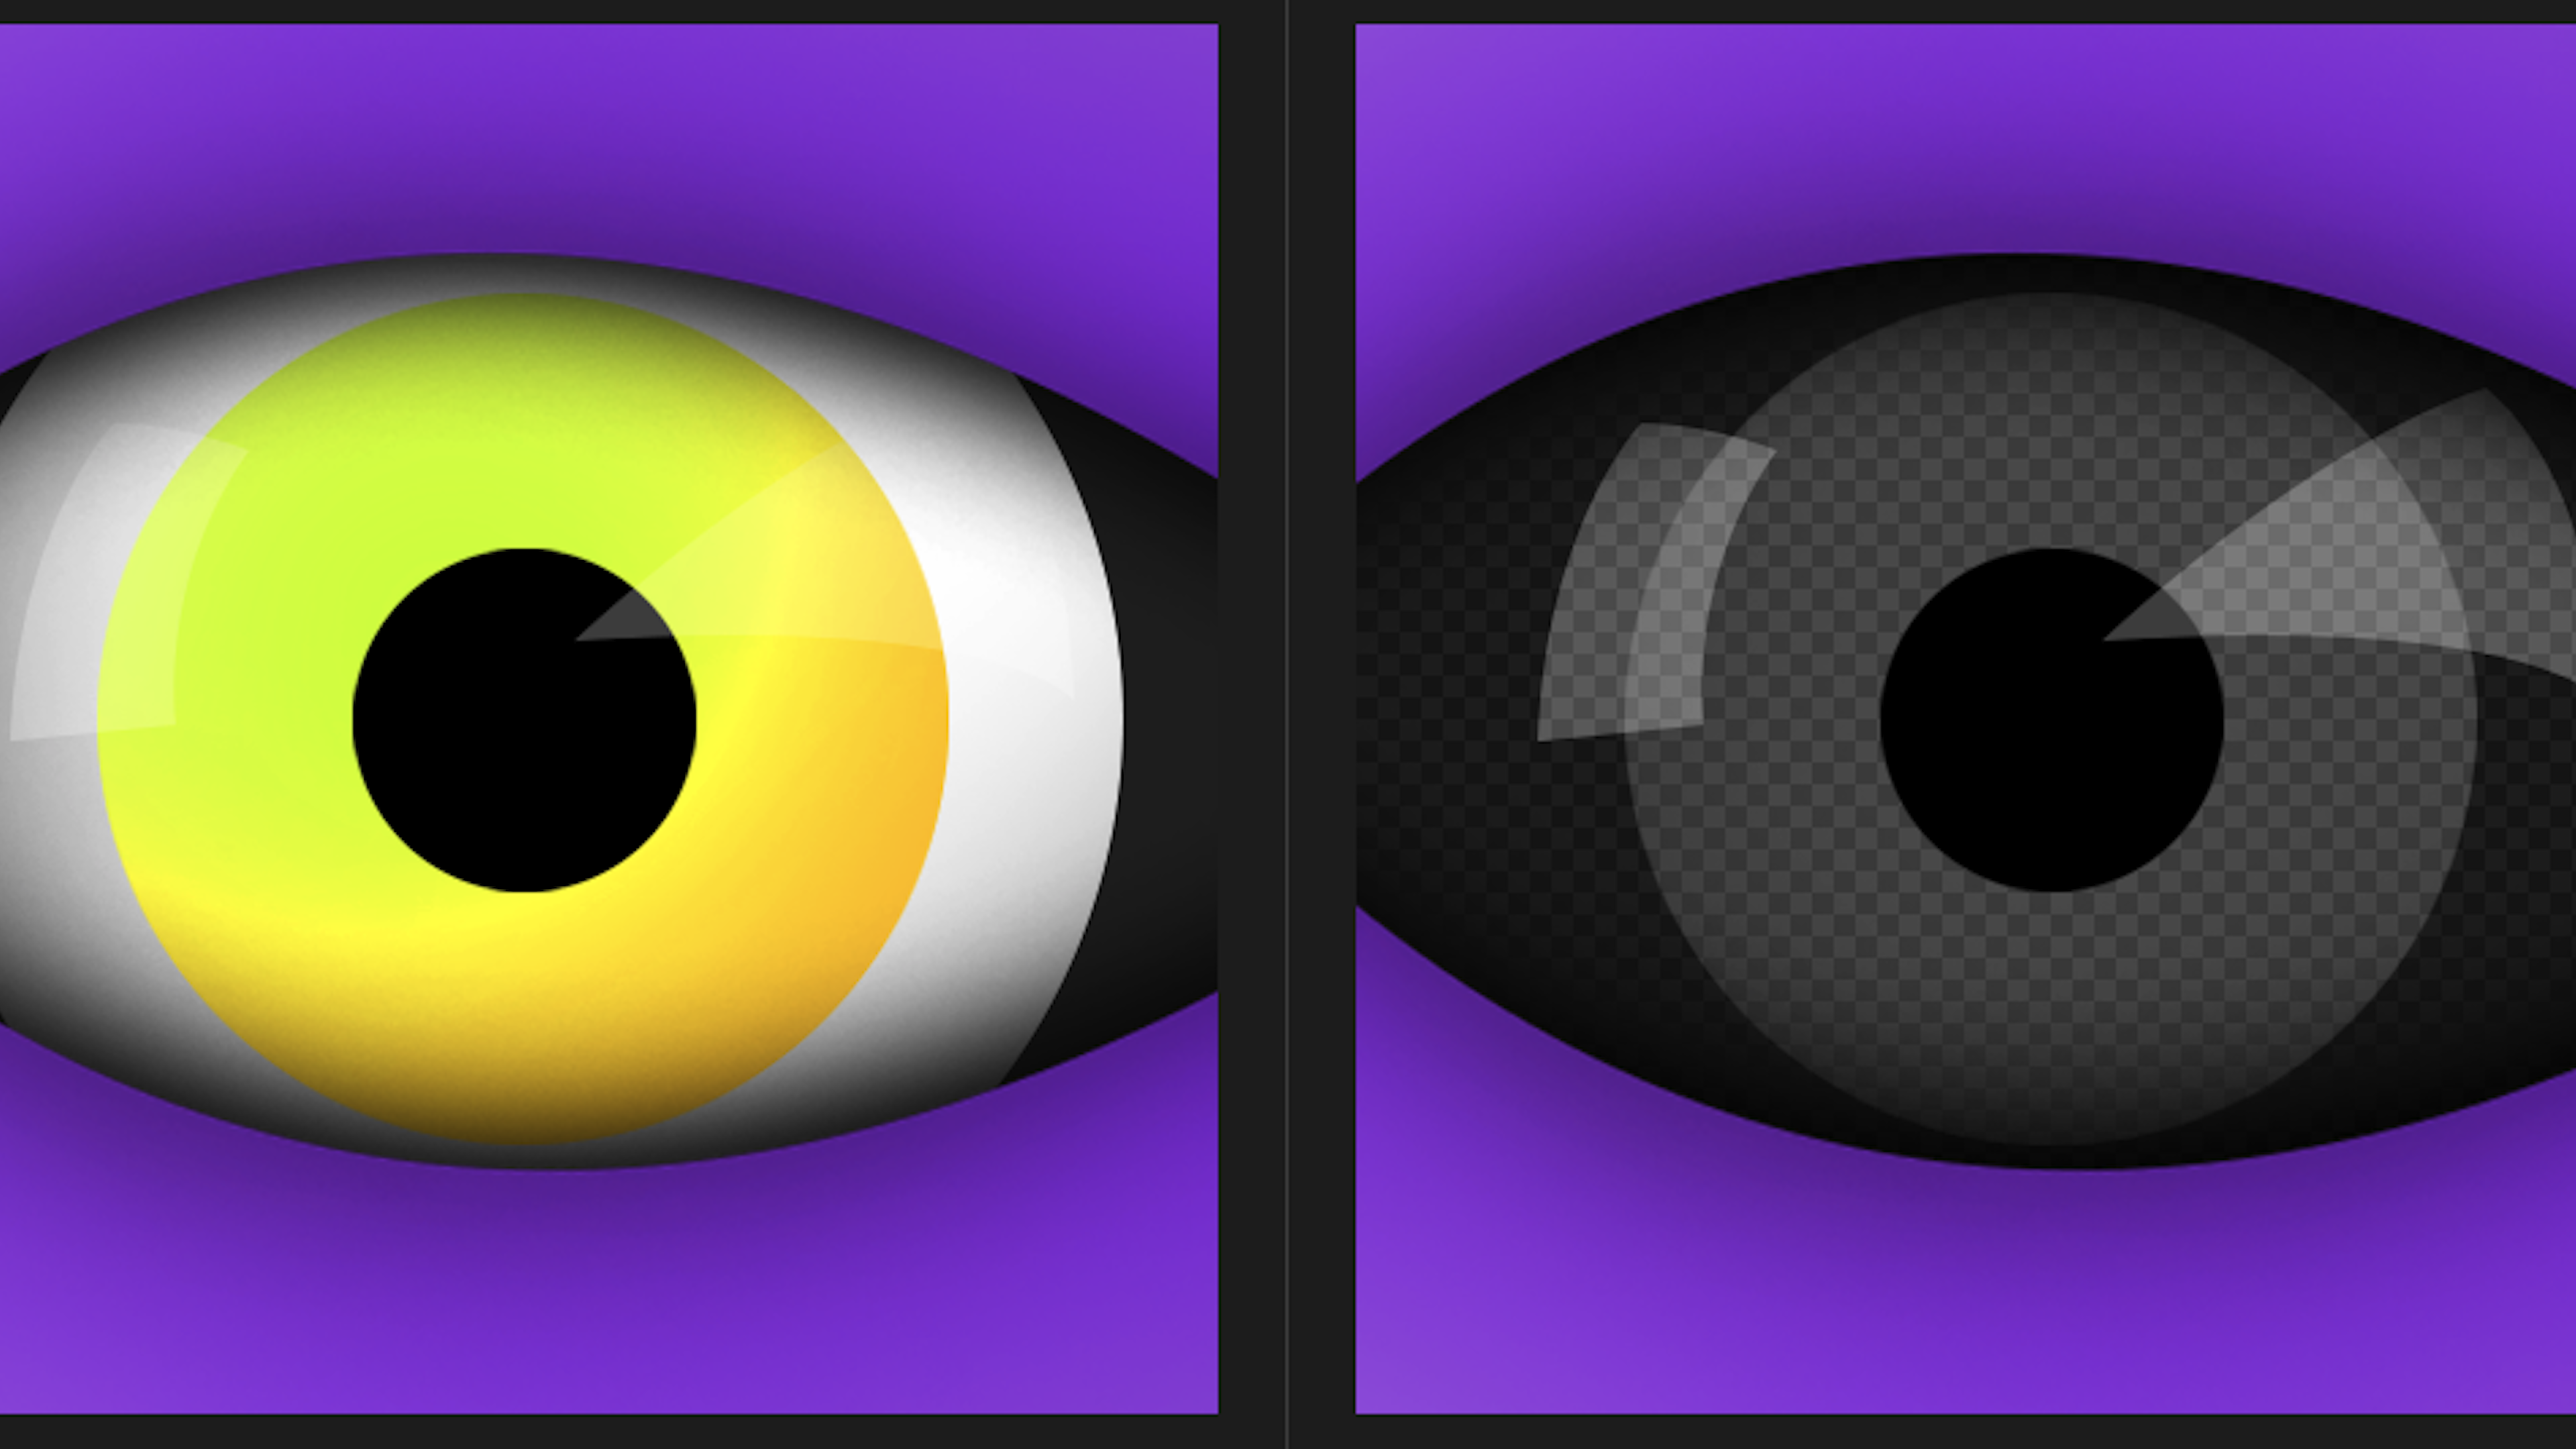
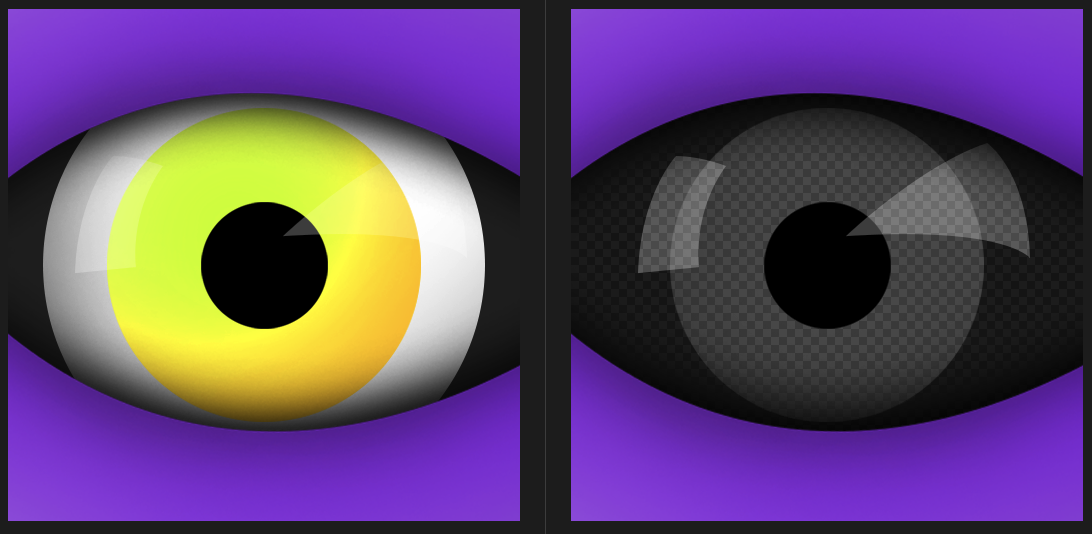
Lastly, let’s take a look at how you can change the outputted images by adding opacity and blending modes.
Blending modes are a term frequently used by graphic designers or artists. If you don’t know what they are, look at this [list of blending modes](https://www.clipstudio.net/how-to-draw/archives/154182) and how they affect the different layers. Moreover, in the HashLips [documentation](https://github.com/HashLips/hashlips_art_engine#usage-%E2%84%B9%EF%B8%8F), you find the different blending modes that the art engine supports.
Further, opacity determines the transparency of a particular layer. Now, let’s add both options to our configuration for “Eye color”.
```js
const layerConfigurations = [
{
growEditionSizeTo: 5,
layersOrder: [
{ name: "Background",
options: {
bypassDNA: true
}
},
{ name: "Eyeball" },
{ name: "Eye color",
options: {
blend: MODE.destinationIn,
opacity: 0.2
}
},
…
],
},
];
This is the result with and without the blend and opacity options. As you can see on the right, our experiment hasn’t really succeeded. Feel free to experiment with the different options to get the desired results.
Step 2.4: Pixelating images
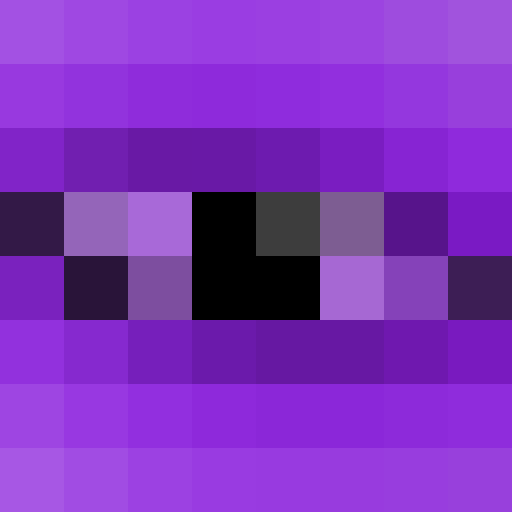
It’s a common trend among NFT collections to generate pixelated images. Obviously, the art engine had to support this functionality. You can use npm run pixelate to pixelate your art collection.
Remember you should first generate regular images by executing your configuration using node index.js and then running npm run pixelate. The command will produce a new folder called /pixel_images under the /build folder.
If we take a look at the output, we’ll find the following result which is not exactly what we want.
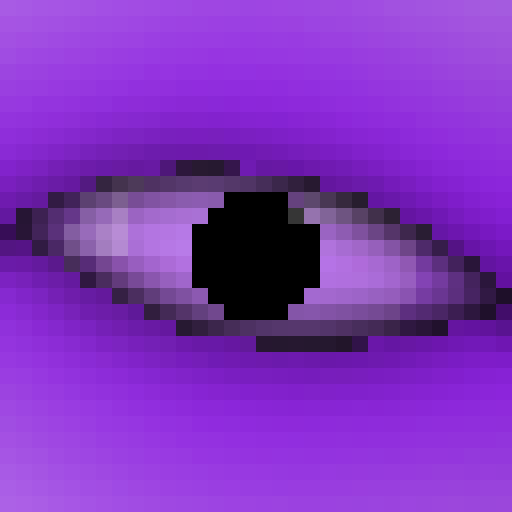
Let’s go back to the src/config.js file and look for the pixelFormat variable. You can change the pixel ratio. The lower the number on the left, the more pixelated the image will be. Let’s change the ratio to 2 / 32. This is the output after running npm run pixelate. Much better!
Step 3: Add extra metadata
You can add extra metadata by adding properties to the extraMetadata variable, which you find in the /src/config.js file. For example, let’s add a creator to the metadata. It’s a common property that most NFT marketplaces and explorers support. Just add the property to the extraMetadata variable.
const extraMetadata = {
 creator: "My creator name"
};
Now, let’s run node index.js to generate NFTs and their metadata. If we look at the generated metadata in /build/json, you’ll see the creator property is included.
{
 "name": "Your Collection# 2",
 "description": "Remember to replace this description",
 "image": "ipfs://NewUriToReplace/2.png",
 "dna": "4202e2c04c1227e73658fa75884fa1877aed2b50",
 "edition": 2,
 "date": 1667331573225,
 "creator": "My creator name",
 "attributes": [
   …
 ],
 "compiler": "HashLips Art Engine"
}
```## Step 4: Calculating rarity
Lastly, let’s pull up the rarity calculations for your collection. Note that this feature is still an experimental feature and doesn’t display rarity scores. However, it does show us the rarity for each trait type which is valuable when determining if you like the trait distribution.

You can display the rarity for your NFT collection by running `npm run rarity`. You’ll see a similar output.

```text
Trait type: Top lid
{
  trait: 'High',
  weight: '30',
  occurrence: '1 in 5 editions (20.00 %)'
}
{
  trait: 'Low',
  weight: '20',
  occurrence: '2 in 5 editions (40.00 %)'
}
{
  trait: 'Middle',
  weight: '50',
  occurrence: '2 in 5 editions (40.00 %)'
}
The output shows the weight (chance) you’ve assigned to each trait and the number of times the trait occurs. Typically, a higher trait weight should occur more frequently. Due to randomness, this is not always the case, and you might decide based on this rarity information to re-generate your NFT collection to get a better trait distribution. For instance, you want a rare trait only to occur once or twice, but by chance the trait occurs more than three times. This tool will help you to evaluate such decisions.
Conclusion
We have only scratched the surface of what’s possible with the HashLips art engine. If you want to learn more, you can explore the documentation or follow a masterclass on the HashLips art engine. Note that this video was created in March 2022. Further, you can join the HashLips Discord server to ask questions in case you get stuck. Happy art generating!
Michiel Mulders
Passionate about Documentation Strategy, Developer Expierence, and Developer Advocacy. Software and blockchain engineer (Node.js & Go) and technical writer. And oh, crypto nerd!
See other articles by Michiel

WorksHub
Jobs
Locations
Articles
Ground Floor, Verse Building, 18 Brunswick Place, London, N1 6DZ
108 E 16th Street, New York, NY 10003
Subscribe to our newsletter
Join over 111,000 others and get access to exclusive content, job opportunities and more!